I think I need to set a goal for myself regarding November: make things using
only materials I already have on hand! I mean, I have a few skirt ideas in mind that will obviously require me to buy elastic (I cannot install a zipper to save my life) but other than that,
no more buying things from re-store! My fabric bins (yes, more than one) are overflowing, and my floor, desk, and coffee table are covered. As in you can barely see what color those things are through all the fabric that's spread out everywhere.
Belle doesn't complain though, she thinks that the craft room is her room and she is the Queen of the Fabric and gets to lay on whatever texture suits her mood at the moment.
I have so many materials already, so much fabric, and too-small or
too-big items that need to be altered or just cut up and used as fabric,
but I get distracted so easily. I think what I need to do is go through my
'Craft Ideas & Sewing Projects' board on pinterest, pick out some stuff, set up my
laptop in the craft room with 5 or 6 project ideas open, and then cut off the
wireless so I can't open up anything else!
I do have to make sure I put everything away for the week of Thanksgiving, though, because my in-laws will be here! So I guess minus the half week I've already
wasted spent not doing much of anything (well except painting the
Coolest Doll Ever) I've got three weeks to work with this month.
Anyway, here are a few pieces I'm wanting to wok on specifically this week:
Ivory/gold brocade skirt. It's a
really nice skirt, but it's like one size too small, and I'm not sure whether I should hold out and hope I can fit into it soon, or just go ahead and make something out of it. If I do, I'm thinking a clutch.
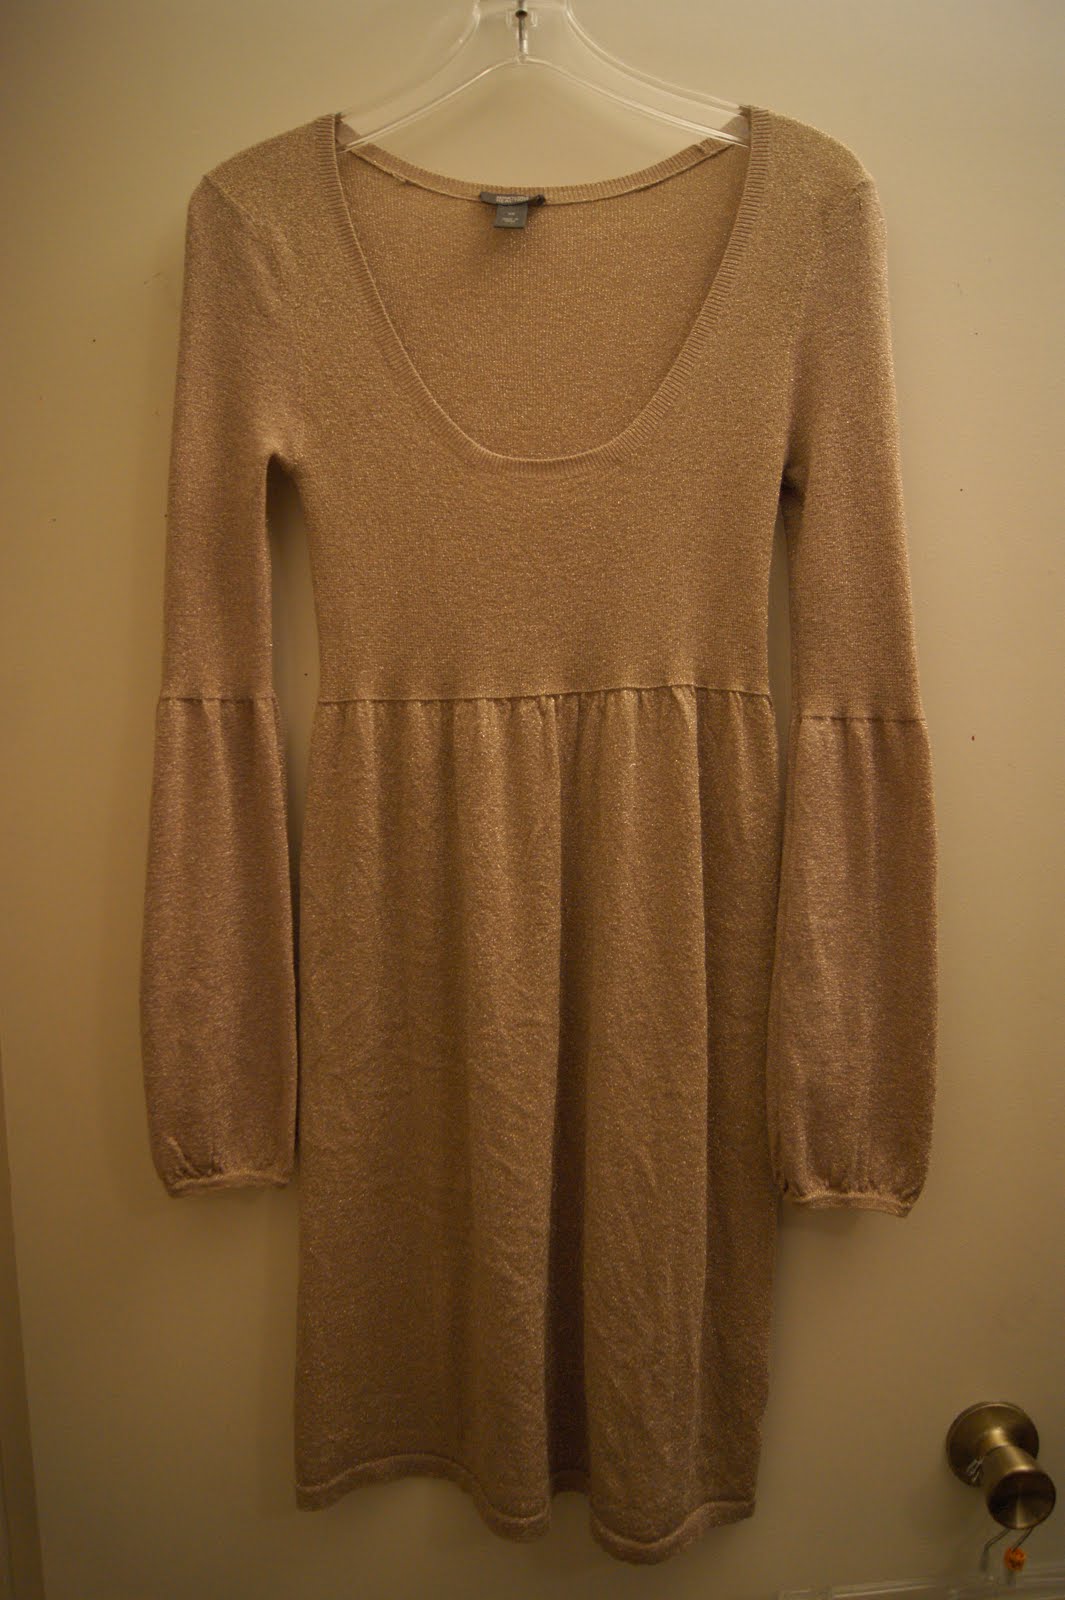
This dress is also really nice, but it's an XS and I
know I'll never be that tiny so it's destined for re-purposing. Just not too sure what it will turn into...
They're both gold
(and sparkly!) which makes me think of winter and Christmas, which is kind of why I'm trying to work with them first.
I also have a black maxi that I grabbed at restore that I'm debating turning into asymmetrical hem skirt...I really don't know! I kind of want to just go ahead and do it because it's a $2 skirt so what's the harm? But at the same time nice flowy, not-faded-one-little-bit thrift store maxis are hard to come by!
Also this month: I'll be getting (and restoring!) a table and six chairs from my in-laws. That will definitely be a learning experience. I might even paint them. We'll see how it goes.
I'll probably also be baking and possibly sharing a few gluten-free ideas. I'm still getting used to this, and finding new things to eat can be hard. Partially because I'm picky, and partially because Josh doesn't have to eat gluten-free, so it can be difficult to find things for both of us to eat, and that still taste good to him. I'm still trying to
not eat out the rest of this month, so hopefully embracing the eating at home thing will lead to us finding a balance.
And on a final note,
I CANNOT BELIEVE IT IS ALREADY NOVEMBER.